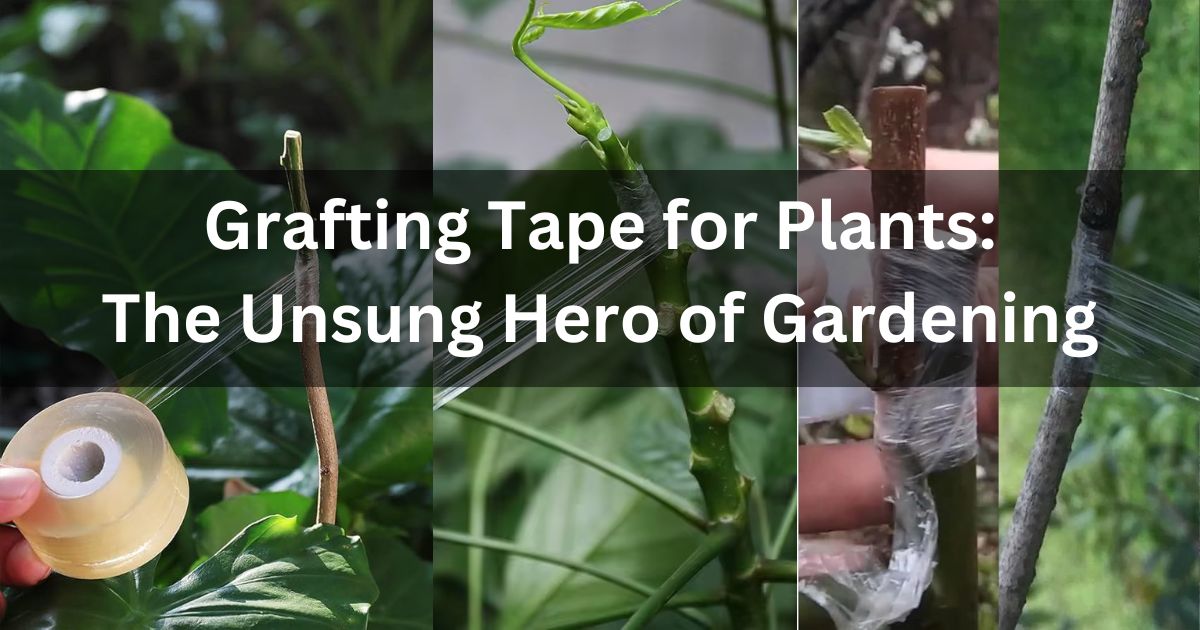
Grafting Tape for Plants: The Unsung Hero of Gardening

Hey there, fellow garden enthusiasts! 🌿
I gotta tell you about this little gem I stumbled upon during my gardening journey – grafting tape. I can almost hear you saying, "Great, another fancy gardening tool, right?" But stick with me on this one. This stuff is a game-changer. Trust me, I've been down the rabbit hole of gardening hacks, and this one is worth the hype.
So, picture this, I was in my backyard, trying to graft a couple of fruit tree branches together. I had this grand vision of creating a magical Franken-tree that would give me both apples and pears (because who wouldn't want that, right?). But every time I tried, the branches would just mock me by falling apart. I was almost ready to give up and accept my fate as a mediocre gardener when a friend mentioned grafting tape. Feeling both doubtful and desperate, I decided to give it a try.
What Exactly is Grafting Tape?
Grafting tape is like the duct tape of the plant world. It's a stretchy, elastic tape that you use to hold grafts in place while they heal and grow together. The beauty of it is that it expands as the plant grows, so you don't have to worry about it cutting into the bark and damaging your precious graft. Plus, it's biodegradable, so it eventually breaks down on its own – no need to remove it later. How cool is that?
My Grafting Tape Adventure
Armed with my newfound secret weapon, I set out to create my dream tree. I carefully aligned the branches, wrapped them with grafting tape, and said a little prayer to the gardening gods. And you know what? It worked. A few weeks later, the grafts had fused together like they were always meant to be. I couldn't help but do a little happy dance in the yard (much to my neighbor's amusement).
But here's the kicker – grafting tape isn't just for fruit trees. I've used it on roses, tomatoes, and even some of my ornamental plants. It's like having a magic wand that helps your plants thrive. And let's be real, who doesn't want to feel like a garden wizard?
A Few Tips for Using Grafting Tape
- Clean Cuts: Make sure your cuts are clean and smooth. A sharp grafting knife is your best friend here. Clean cuts make it easier for the plant to heal and create a strong bond between the graft and the rootstock. Always sterilize your knife before making cuts to prevent any infections.
- Tight Wrap: Wrap the tape snugly around the graft, but not so tight that you strangle the poor plant. The tape needs to hold the graft firmly in place without restricting its growth. Think of it like a comfy bandage for your plant. Start wrapping from the bottom and work your way up, overlapping each layer slightly for maximum support.
- Patience: Give your grafts time to heal. It's tempting to check on them every day, but trust the process. Grafting can take weeks or even months to fully heal. Keep the area around the graft moist and protect it from extreme temperatures. Remember, good things come to those who wait, and your patience will be rewarded with a healthy, thriving graft.
Choosing the Right Grafting Tape
Not all grafting tapes are created equal. When you're shopping for grafting tape, look for a tape that's breathable and stretchy. Some tapes are made from parafilm, which is a great option because it forms a tight seal around the graft while allowing the plant to breathe. Another popular choice is polyethylene tape, which is sturdy and provides excellent support for grafts that need a bit more structural integrity.
Common Grafting Mistakes and How to Avoid Them
Grafting can be tricky, and it's easy to make mistakes. Below are some typical mistakes and tips to steer clear of them:
- Not aligning the cambium layers: The cambium is the layer of tissue just beneath the bark, and it's crucial for graft success. Make sure the cambium layers of the scion (the branch you're grafting) and the rootstock (the plant you're grafting onto) are aligned as closely as possible.
- Improperly securing the graft: If the graft isn't secured tightly enough, it can shift and fail to take. Use your grafting tape to create a secure, stable bond between the scion and rootstock.
- Neglecting aftercare: After grafting, your plant will need some extra TLC. Keep the grafted area moist and protect it from extreme temperatures and pests.
- Vegetables that Can Grow Indoors Without Sunlight
- Best Fruit Plants for Home Garden
- How to Grow Organic Vegetables at Home – Tools You Need
- The Dirt on the Best Soil for Vegetable Gardens
- The Best Indoor Herb Garden with Grow Light
Wrapping Up (Pun Intended)
Grafting tape has been a game-changer for my gardening adventures, and I can't recommend it enough. It's one of those tools that you didn't know you needed until you try it. So, next time you're out in the garden, give it a shot. Your plants will thank you, and who knows, you might just create your own magical Franken-tree.
Happy gardening, folks! 🌻